


6 Easy DIY No-Carve Thanksgiving Centerpieces

Naasa Sherbeini
Naasa's keen eye for detail and her market knowledge are key advantages for her clientele. Meet Naasa Sherbeini After obtaining her degree in s...
Naasa's keen eye for detail and her market knowledge are key advantages for her clientele. Meet Naasa Sherbeini After obtaining her degree in s...
Thanksgiving is COMING!!! And that means... pumpkin pie, turkey, cranberry sauce, squash soup, and mashed potatoes! Yummy!
It might seem that way, but Thanksgiving isn't just about pigging out until you can no longer move. It is also one of the holidays best spent with the people you love and the people who made a difference in your life. It is about being thankful for the blessings we have received and the obstacles that came that made us stronger.
The pandemic may have changed the way we are going to celebrate Thanksgiving this year but the thought remains that this is the holiday that reminds us we have so much to be thankful for. So take the time to appreciate and be thankful for all the blessings we have received. It's time to celebrate and make it more special with these DIY centerpieces that you can easily create from home.
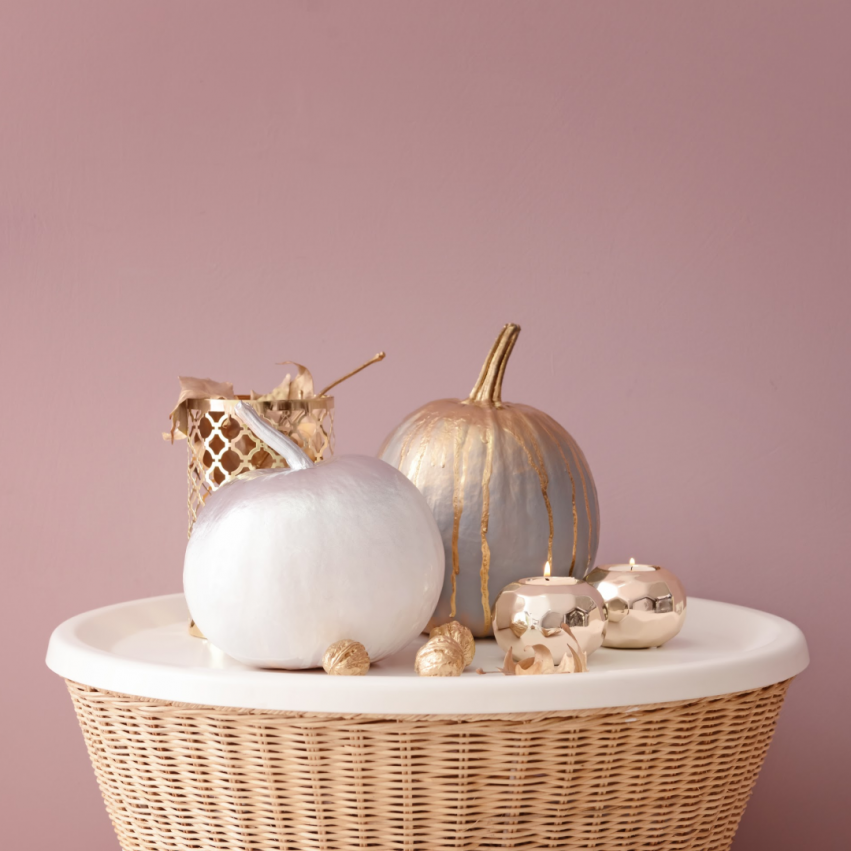
1. Metallic- Glittered Pumpkins
Materials:
Pumpkins with different sizes
Spray paint or glitter or metallic paint
Newspaper
Glue if you will use the glitters
Spread the newspaper over your working area. Make sure that it's large enough to cover the whole area where you will be spray painting the pumpkins. Spray paint the pumpkin or paint it accordingly. Coat the pumpkin until you reach the desired color and choose multiple metallic colors. Finally, let it dry over the newspaper.
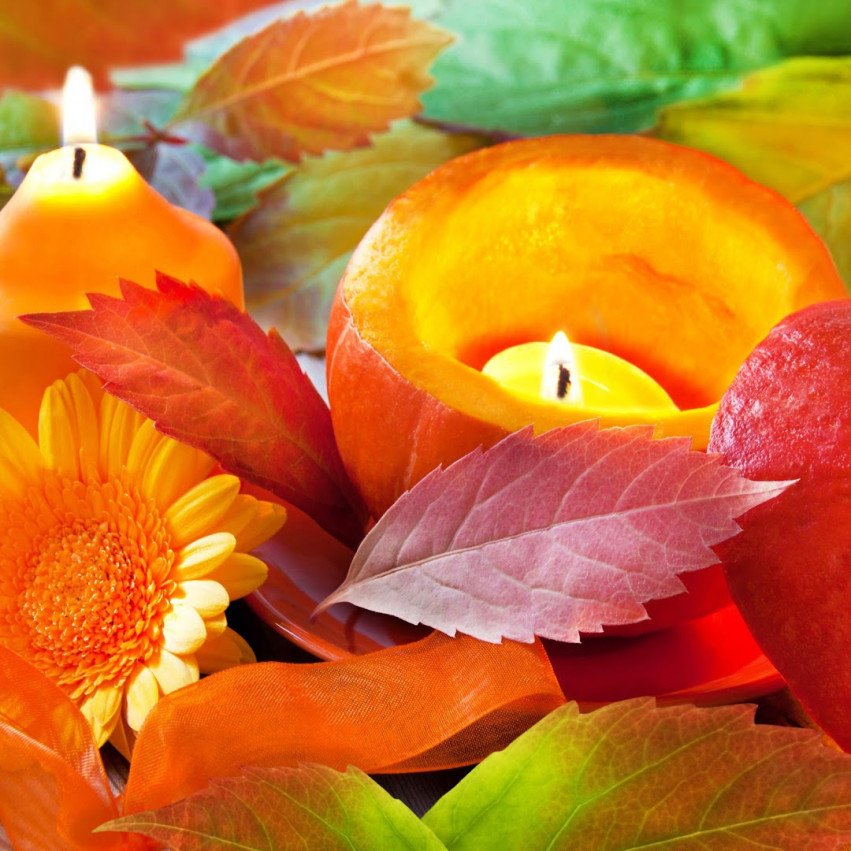
2. Pumpkin Candle Holder
Materials:
Pumpkins (small to medium size depending on the candle size)
Knife or any carving tool
Candle
Accessories like ribbons, leaves, etc.
Gather all the materials pumpkin, candle, and your carving tool or knife. Measure the candle over the pumpkin and have it traced using a pen or using a knife. Remove the portion where your candle will be inserted and should be deep enough to hold and balance your tall candle.
Or you can just buy a candle shaped like a pumpkin! Just kidding! It'll be nice to display something that you actually made.
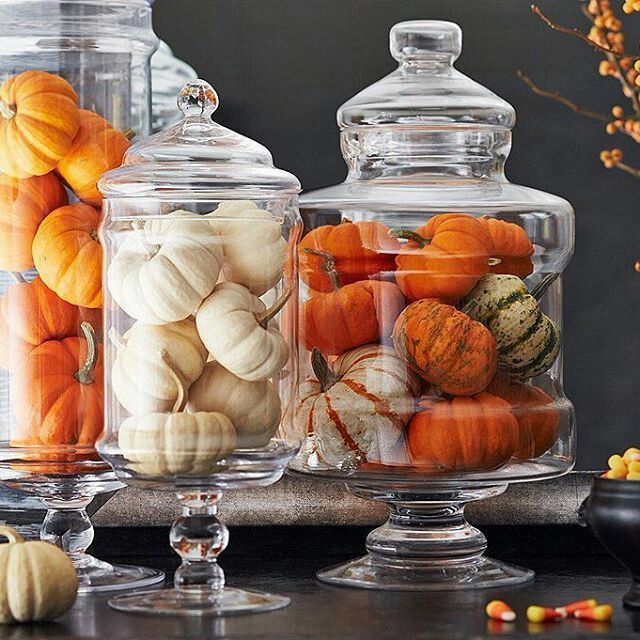
3. A Jar of Pumpkins
Materials:
Metallic Paint or glitters or spray paint (optional)
Newspaper to cover the work area
A tall clear jar or clear vase and leaves with different color's of fall.
Small Pumpkins
Gather all the materials and put it in one place. Have the newspaper laid out and cover your work space area. If you have decided to paint your small pumpkins, do it over the newspaper to keep the paint off your working table. Add a pinch of glitters on top of the wet paint, just enough to make them sparkle. Let the paint dry overnight or for a few hours.
Grabe your jar, add the leaves at the bottom of the jar (just in case the paint didn't completely dry) add your pumpkins alternating the colors or not. Don't forget to be creative! This is easy enough to have your kids do it. Lol!
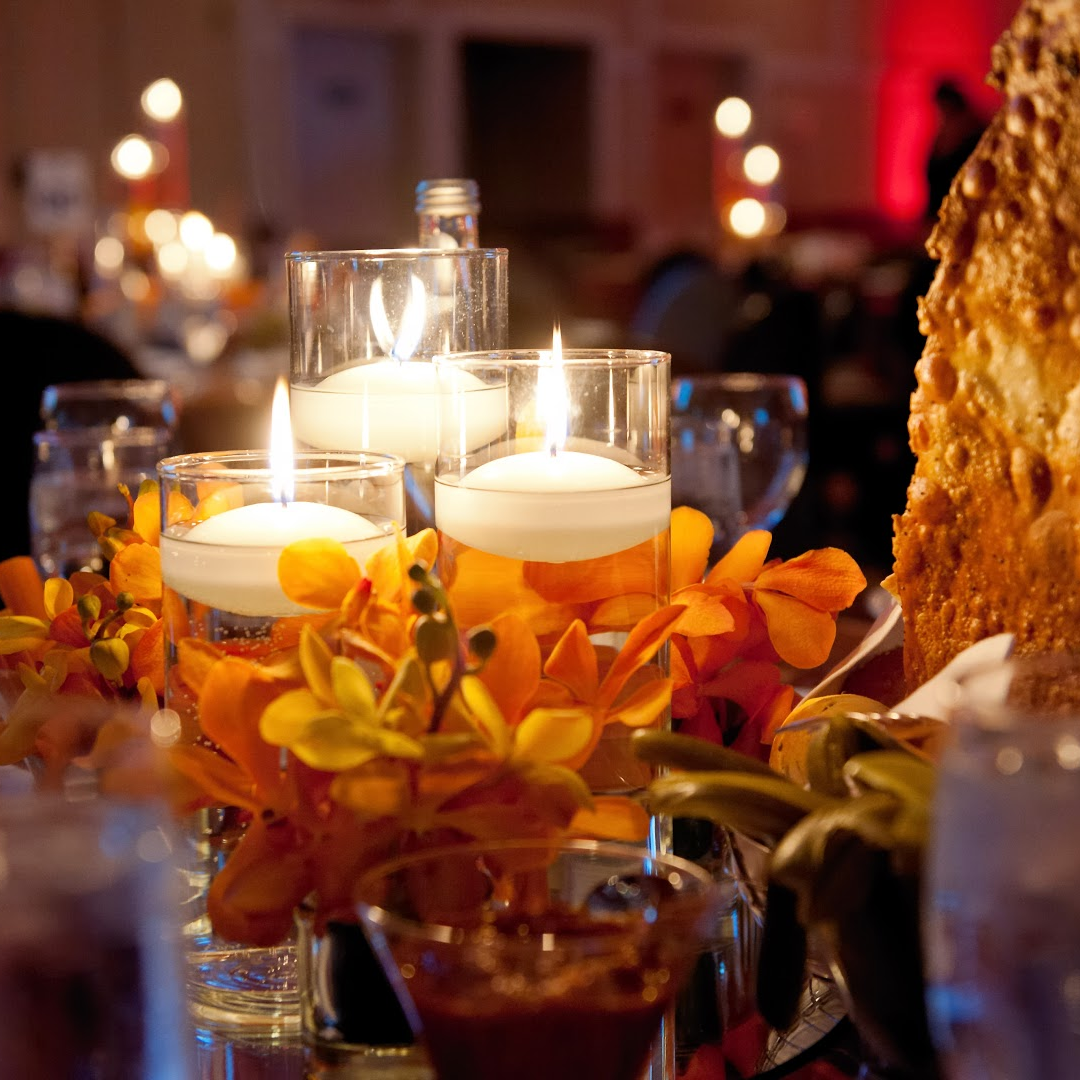
4. Floating Fall Candles
Materials:
Teal light candle
Tall clear glass or vase
Glass stuffings ( leaves, cranberry, small pumpkins, flowers, etc. Except turkey)
Gather the materials needed like the tall glass, vase, or fishbowl. Add the cranberry or any accessory that you want to be displayed inside the jar or the glass. Add water and leave a half-inch from the tip of the glass. Add the teal light and you are all set, just repeat the steps.
.png?w=851)
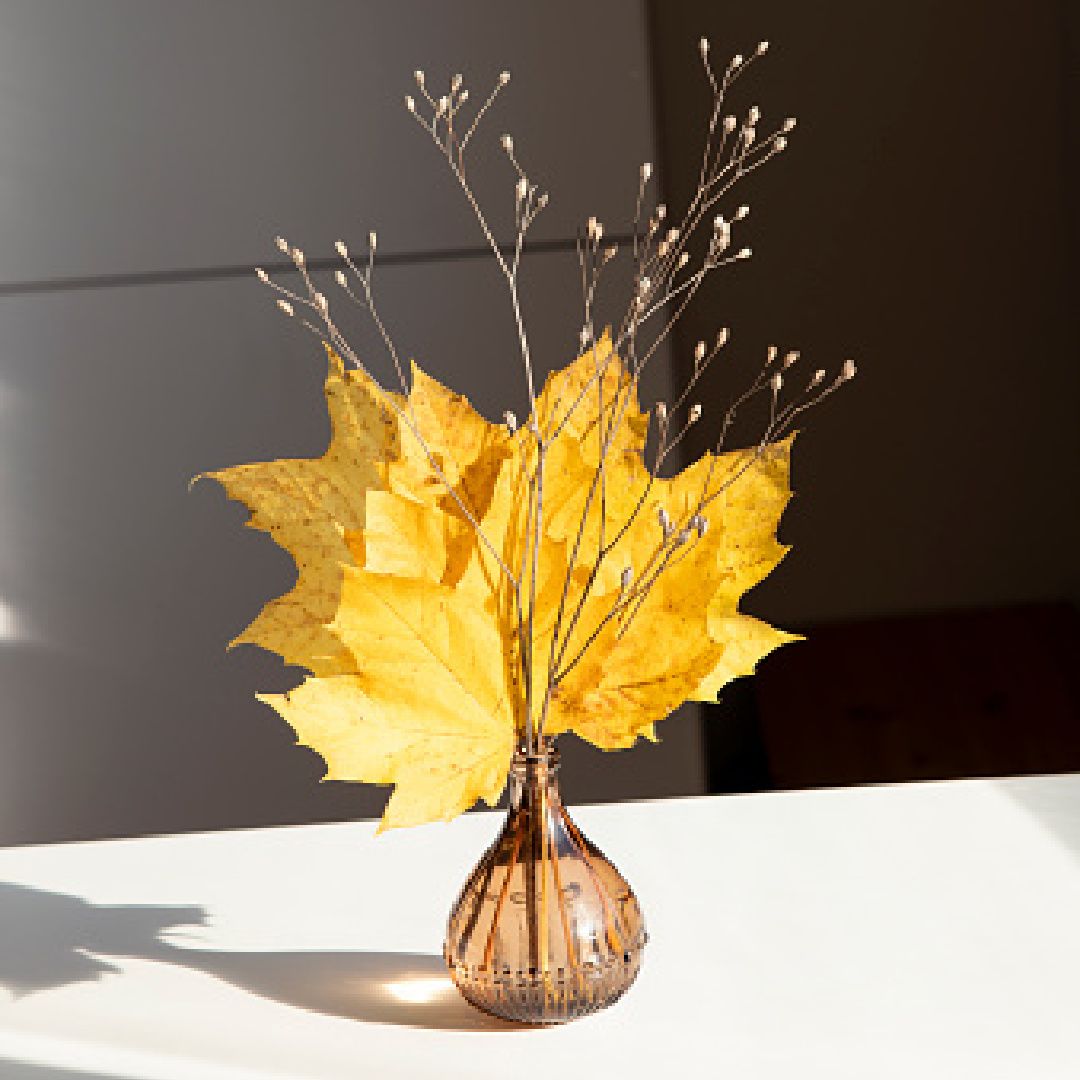
5. Fall Tree Centerpiece
Materials:
Fall leaves and twigs
Tape and string or needle with string.
Tall clear vase
Optional: Gold spray paint or paint
Gather all the materials, the leaves, tape and string. If you are planning to make it look like the one on the bottom extreme portion of the picture. Have your leaves lined up on one straight line get the string and tape it at the back of each leaf and tie each string to a piece of stick, or a twig, or anything that can hold the leaves at the bottom of the jar or your vase.
You can also snap a tree branch with leaves intact, have it painted with gold and silver or not. Have them arranged beautifully in the vase you can also add a small pumpkin to accessorize your fall tree. I know these are all pretty easy and so not time-consuming!
.jpg?w=851)
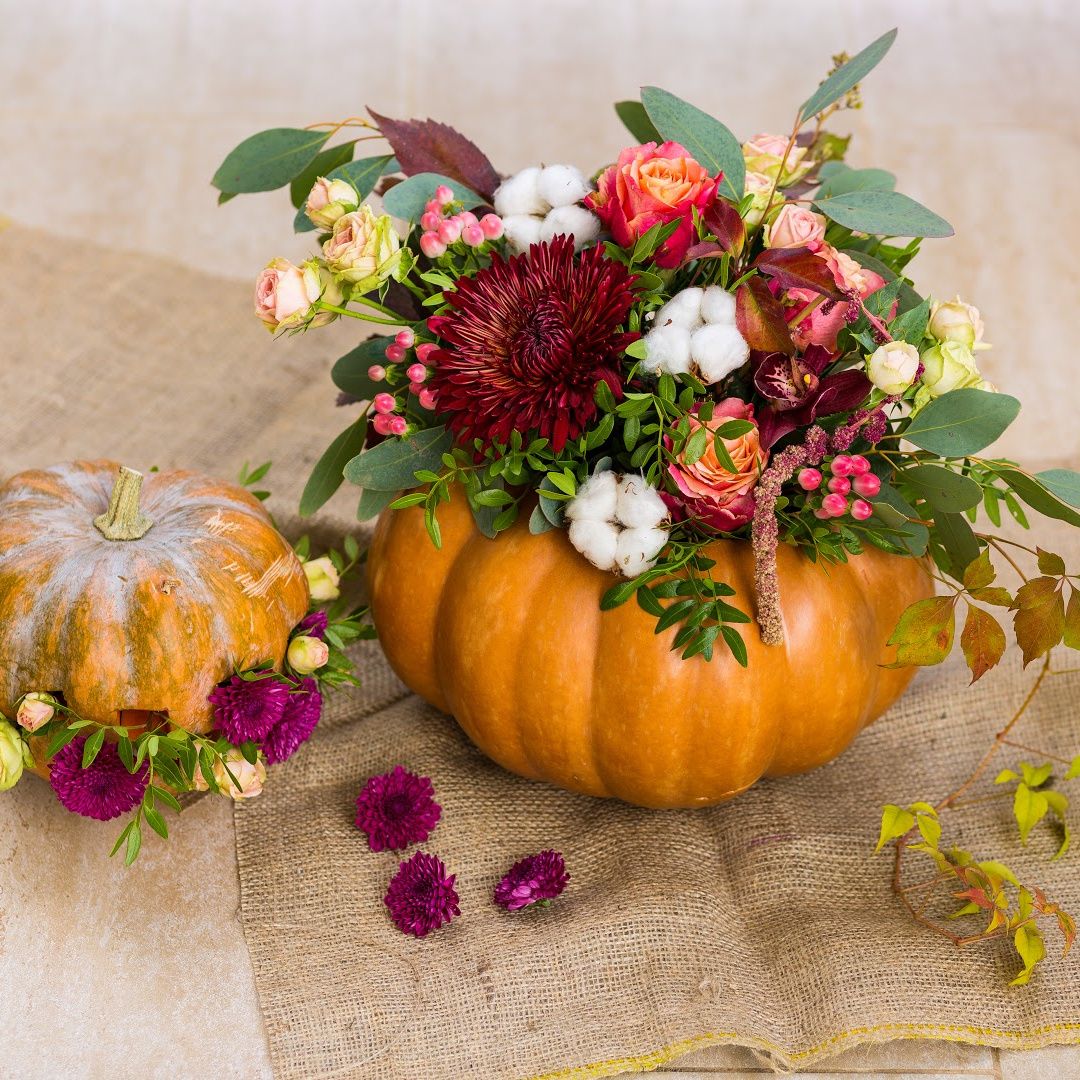
6. Other Pumpkin Center Pieces
Here are other designs that you may find interesting, though, some of them may require more time than the other's to prepare. Especially the pumpkin covered with flowers, the other way to stick it to the pumpkin is by a strong holding glue or glue gun.
All of the centerpieces that I have chosen are really easy and simple to make and some can be self- explanatory. Also, some of this designs are kid friendly where kids can help you make them in the process. Enjoy!!!
.jpg?w=851)